Let’s take a peek at that accent wall that I was DYING for in the nursery! This was our inspiration after hours of scouring Pinterest.

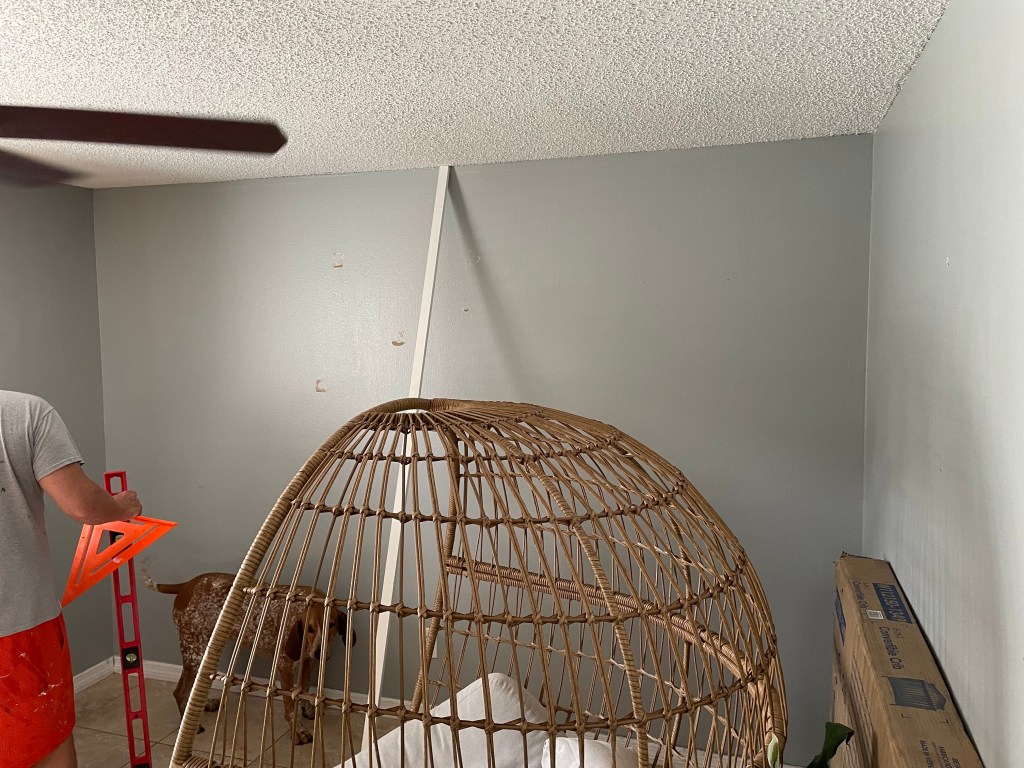
If you didn’t know this already, my dad is SUPER talented, so I knew we would be able to figure it out pretty easily. All we did was add some wood (1×2 primed pine trim boards) to the wall of our choice in a pattern. Dad basically started with the off centered straight up & down one. From there, he worked at 45 degree angles to the left and 90 degree angles to the right. He always says to measure twice and cut once. He did this with each wood piece & then cut it with his table saw. He just hammered nails in, but you could definitely use a nail gun if you were putting up multiple pieces or doing a large wall. I will post some pictures of the process below.


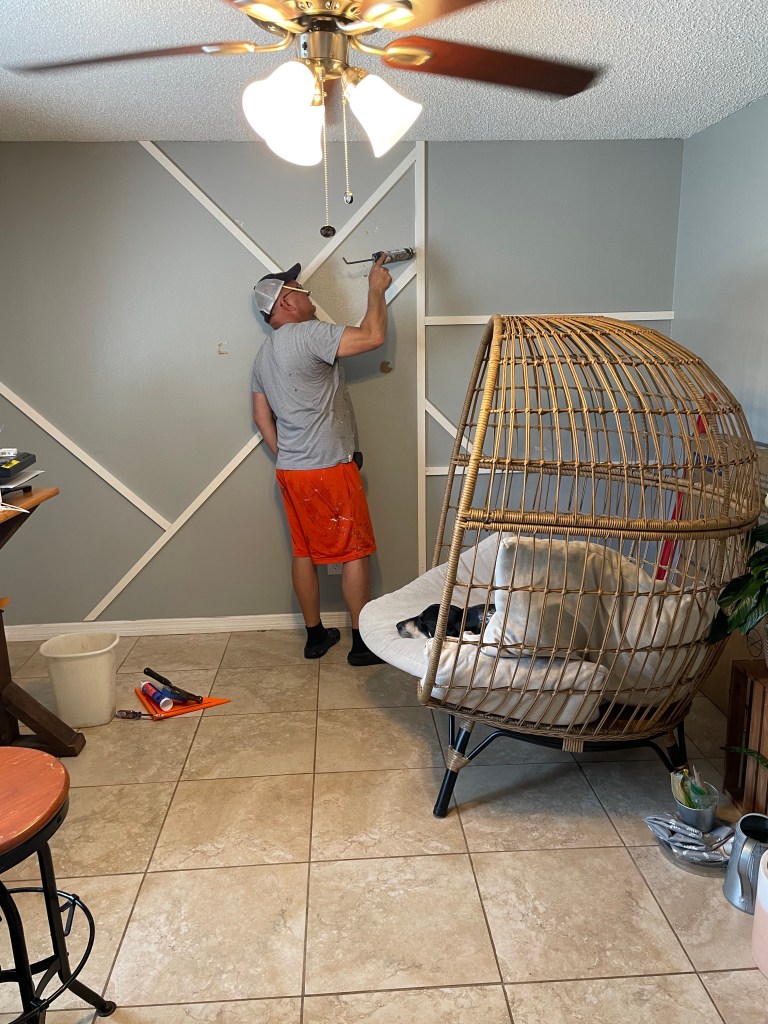
Once we got the wood up, we took a caulk gun and caulked all the seems & over the nail holes if needed. We did have a little bend/warping in one part of the wall (old home in Florida), but the caulk did the trick and you can’t even tell.

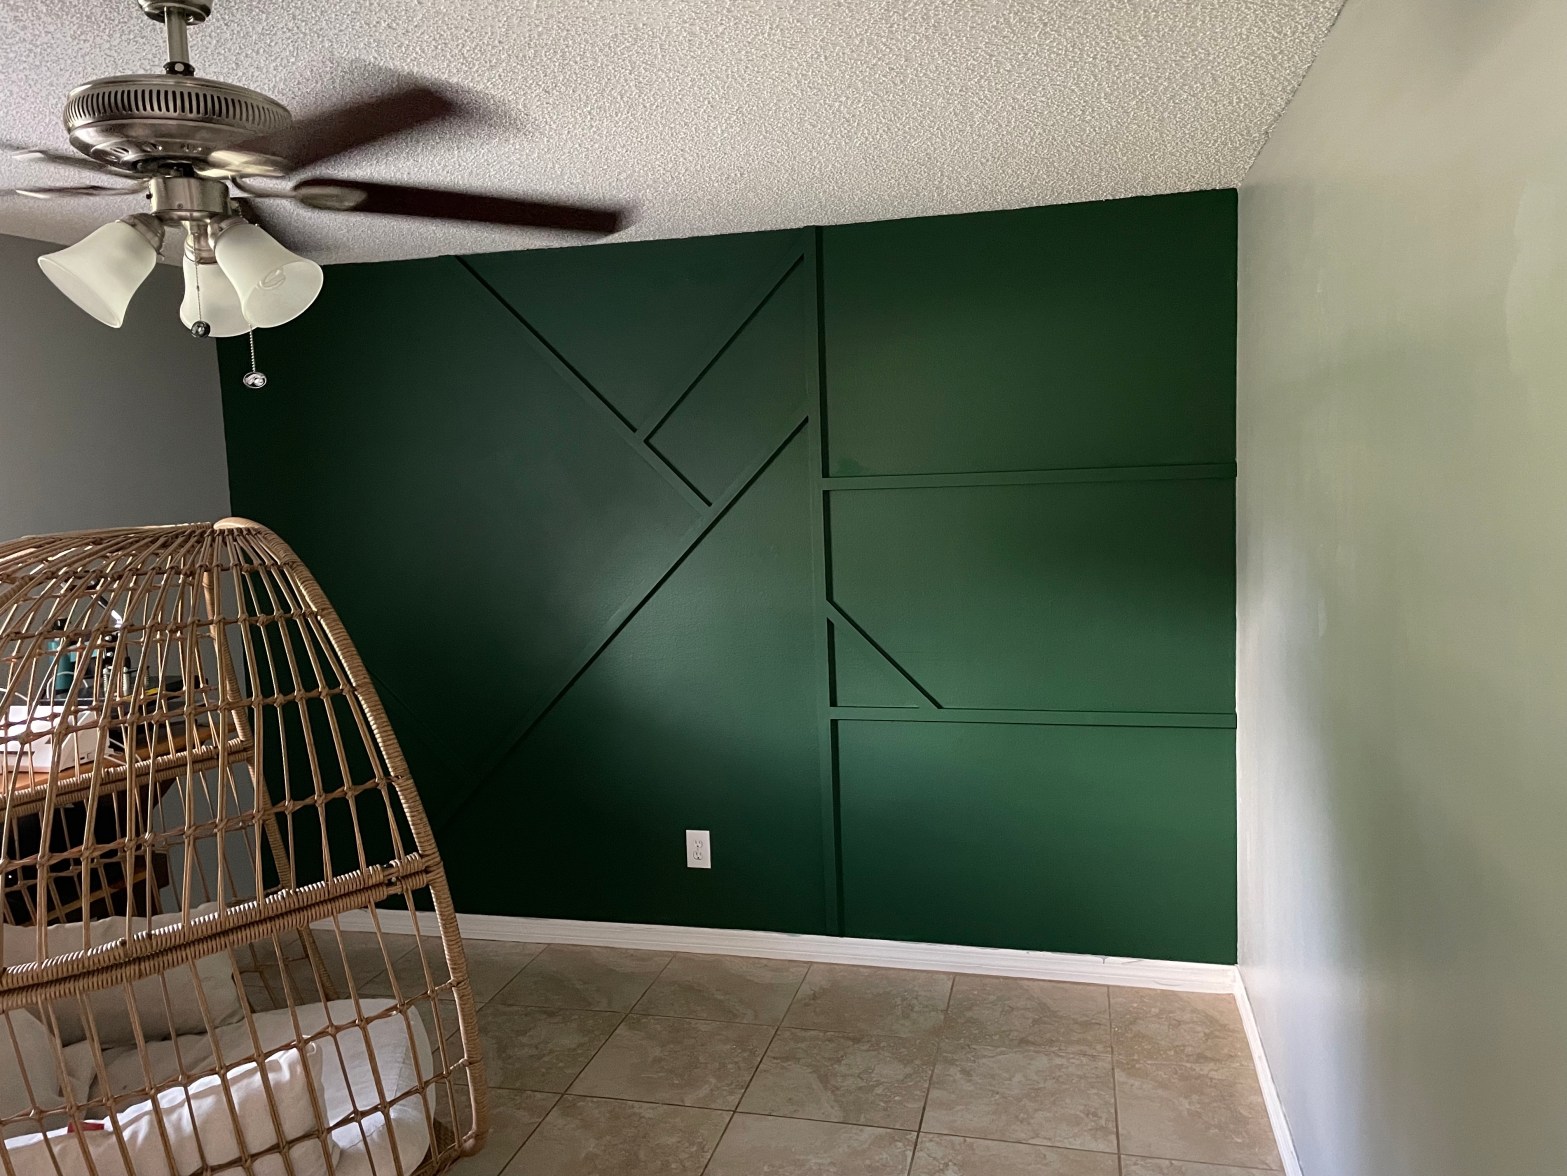
&& this is the final product (still drying so that’s why it is a little discolored), but I am obsessed!!

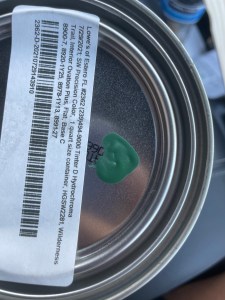
Oh & here is our paint color — Sherwin Williams Wilderness Trail
Can’t wait to show you more when we put in more work!
XOXO,
Hil

One thought on “Nursery Design Update #1”